How to use Posts Table Pro: The best WordPress staff directory plugin
If your business is made up of more than a few individuals, you probably maintain a staff directory. This kind of listing is very useful internally, as it helps to keep everyone’s information in one place. It can also be beneficial to include it on your website, as long as you can find a way to organize it properly.
As with many tasks you’ll perform on your WordPress site, the best solution here is to install a dedicated WordPress staff directory plugin. With the right solution, such as Posts Table Pro, you can add a simple staff list to your site and customize it to suit your exact needs. You can even use custom fields and taxonomies to further refine and organize your directory.
In this post, we’ll talk about what to look for in a WordPress staff directory plugin. Then, we’ll introduce Posts Table Pro – a beginner-friendly yet powerful WordPress solution – and show you how to use it. Let's get started!
Why You Need a WordPress Staff Directory Plugin (And How to Choose One)
It's often smart to create a simple staff list of everyone who works for your company or organization. This directory generally contains names, contact information, profile pictures, and other pertinent details such as job titles. Having a hard copy of your staff directory handy is smart – and so is putting that information on your website.
An online staff directory is convenient, can’t be lost, and is easy to update. For WordPress users, the best way to create one is to use a WordPress staff directory plugin with the following features:
- A way to easily add individual staff members and list them in one place.
- Options for adding as many extra fields as you need.
- Searching and/or filtering functionality, so users can find what they want quickly.
As with any plugin, it’s important to make your choice carefully. That’s why you’ll also want to pay attention to ratings and reviews, how frequently the WordPress staff directory plugin is updated, and what kind of support options are available.
You may also like: How to create a WordPress member directory.
Posts Table Pro
Fortunately, finding the best WordPress staff directory plugin isn’t hard. Our own Posts Table Pro is a flexible tool that meets all the above criteria. It helps you create a searchable and sortable staff list that can be tweaked to fit your precise needs, then displayed on your WordPress site.
Using a customizable shortcode, you can include as much information as you want in your staff directory, organize it all clearly, and enable users to quickly find the staff member they're looking for. What's more, with the purchase of this plugin you'll get access to expert support in case you need a little help getting started.
Key Features:
- Supports custom post types, fields, and taxonomies - perfect for creating a staff custom post type with extra fields to record information about each person.
- Includes search and sort features that are easy to use - perfect for helping people to find a specific person in the simple staff list.
- Provides the option to embed media files - perfect for showing a profile photo or avatar of each staff member in the directory.
- Offers plenty of flexibility and customization options - perfect for customizing your WordPress staff directory in any way you want!
How to Create a Staff Directory in WordPress Using Posts Table Pro (In 4 steps)
Now, let’s walk through how to actually set up your WordPress staff list. First, make sure you have a recent backup of your site in place. Then, you’re ready to begin!
Step 1: Create a Custom Post Type for Your Staff Page
A 'post type' is a unique format for content – WordPress default pages and posts are two examples. In this initial step, you’ll need to create a custom post type for your staff information. To do that, you can install the free Easy Post Types and Fields plugin:
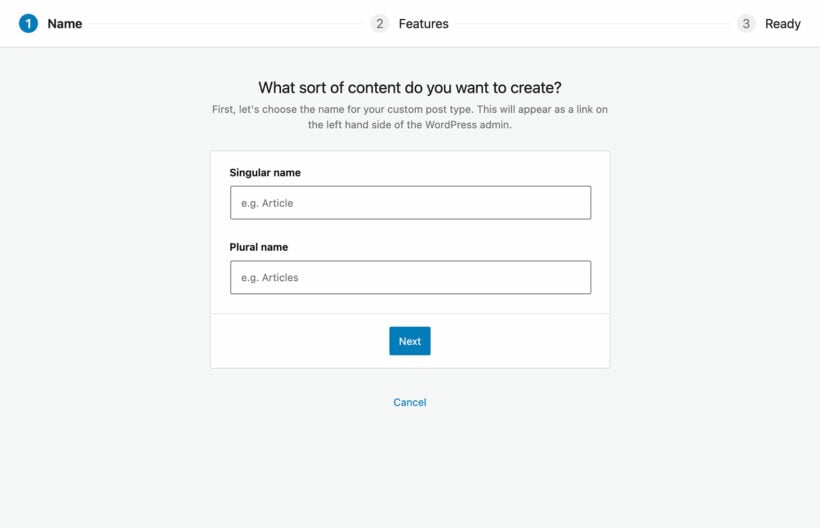
This free plugin enables you to create all kinds of custom content and data on your site. Once you’ve installed and activated it, there will be a new Post Types tab in your dashboard. Click on Add New at the top of the screen, and follow the steps in the setup wizard.
Firstly give your custom post type singular and plural names.
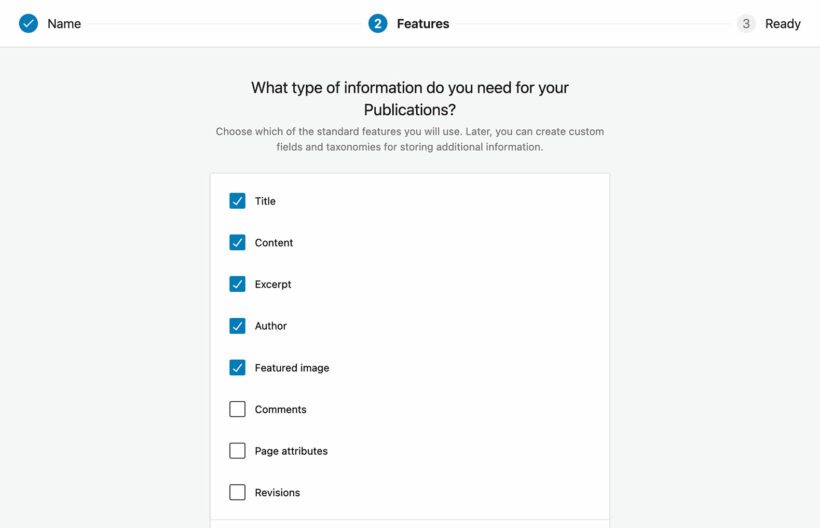
Then, select the type of information you wish to display and click Create.
You have successfully created a custom post type. You should see a new tab appear for your new custom post type in the left-hand menu of your WordPress dashboard.
Step 2: Add Custom Fields and Taxonomies for Staff Data
Next, it’s time to create the categories that will appear in your staff directory. Before moving on, list out all the information you’ll want to include, such as each person’s phone number, email address, department, job role, etc. Then, split your list into two categories. Some of the information will be static data that users will simply want to look up, such as contact details. Other information needs to be ‘filterable’. For example, users may want to sort the directory by department or job role.
First, let’s address static data, like phone numbers and email addresses. For these details, you’ll create custom fields. To add custom fields, go to Post Type → Manage in your WordPress dashboard. Click on the Custom Fields button for the post type you wish to update.
Click on Add New to add a new custom field to that post type and enter the Name, Slug and select the field type (text or visual editor).
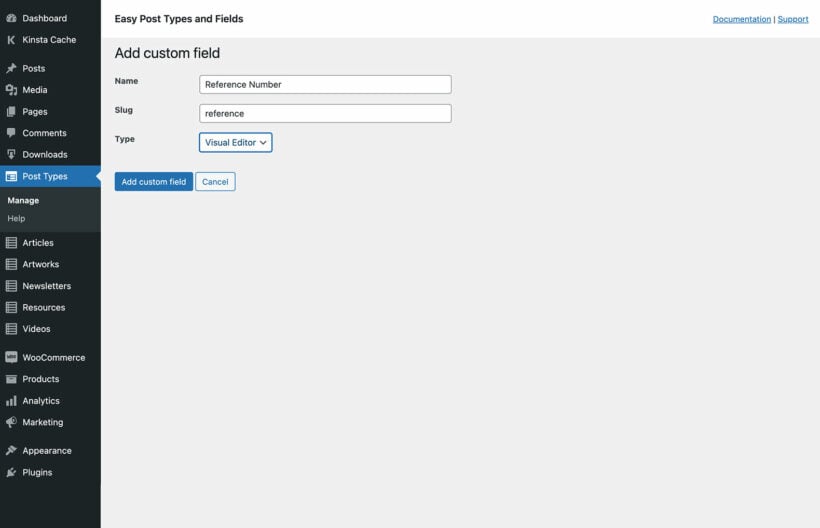
Click Add custom field button when you're finished. You've successfully added a custom field. Repeat the steps above if you want to add more custom fields.
For data that needs to be filterable, you’ll use custom taxonomies instead. To create custom taxonomies, go to Post Type → Manage. Click on the taxonomies button for the respective post type you wish to customize. Click on the Add New button.
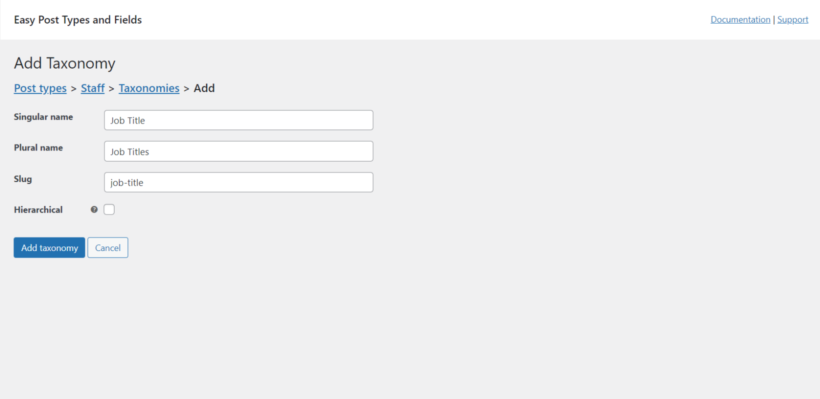
Enter the singular and plural names and the slug for your new taxonomy. When you are done, click on the Add taxonomy button.
If you want to add more filterable taxonomies, repeat the steps above.
Step 3: Enter the Data for Each Staff Member
At this point, it’s time to start entering data for your WordPress staff list. Go to the tab in your dashboard that’s named after the custom post type you created, and select Add New:
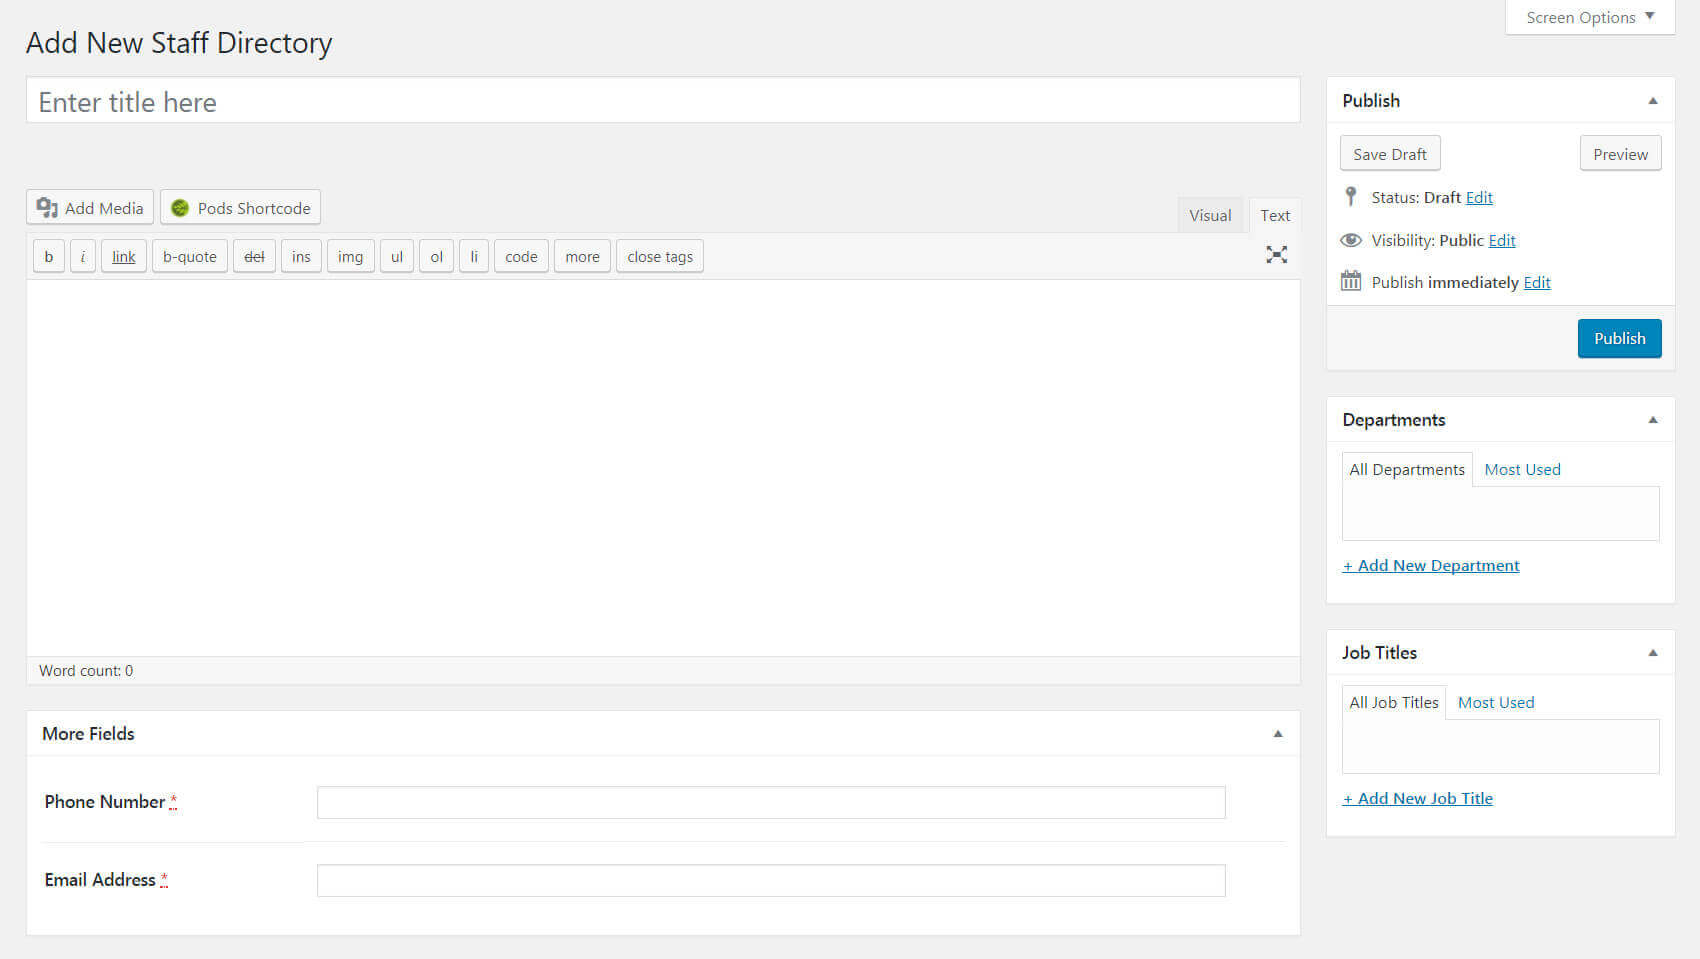
You’ll see the basic WordPress editor with a few new options. In the Title field, enter the name of the first individual in your directory. Then, add their contact details to the custom fields. On the right side of the screen, you can set a Department and Job Title for this individual (or use whatever custom taxonomies you created). Publish the entry when you’re done, and repeat this process for each team member.
Step 4: Use Posts Table Pro to Display Your Staff Directory
The final step is to actually display the directory on your site. To do this, you'll need to install the Posts Table Pro WordPress staff directory plugin.
After purchasing Posts Table Pro, you will receive a confirmation email containing your license key and a download link to the plugin. If you don't receive this email, please submit a support request. To install the plugin, follow these five steps:
- Download the plugin by clicking the link in your order confirmation email. This will save a zip file to your computer.
- Go to your WordPress admin dashboard and navigate to Plugins → Add New → Upload Plugin.
- Click the "Choose File" button and select the posts-table-pro.zip file you just downloaded.
- Once the plugin is uploaded, click the "Activate" button to enable it.
- The Posts Table Pro setup wizard will open automatically, prompting you to enter your license key and complete the setup process.
Step 5: Customize Your Staff Directory
Upon installation, the plugin will open a setup wizard that will guide you through a step-by-step process to create your first table. Once you have created your first table, you can customize its appearance to suit your preferences. If you want to create new tables, simply go to Post Tables → Add New, where you can create as many tables as you need.
- Choose a name for the directory that is meant only for internal use and will appear on the list of tables in the WordPress admin. Next, select the desired post type to be displayed. In this case the custom post type for your staff that you created.
- On the page for adding posts or pages to the table, you can choose from posts, pages, and custom post types. The available options depend on the post type selected in the previous step. If your post type has custom taxonomies, they will also be shown for you to pick.
- You can specify which columns to show and their order. For your directory, you might want to include critical details like the names of your staff, phone numbers, email addresses, departments, and job titles. To add a column, you can pick the column type from the drop-down menu and click on "Add." The added columns appear in the column list above, and you can change their order by dragging and dropping the sort icon or the column title.
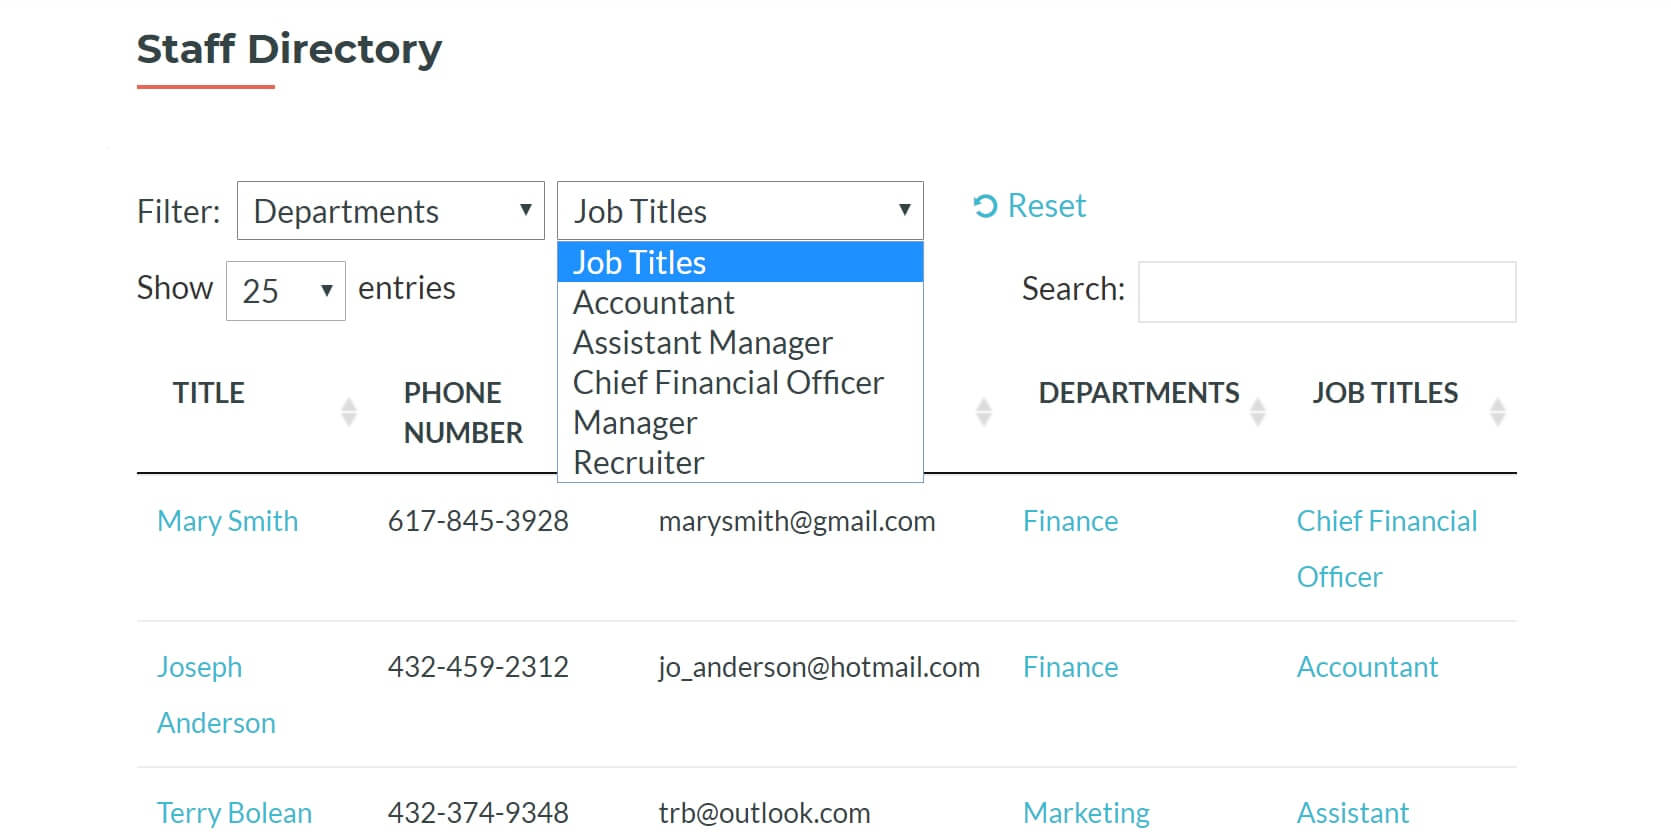
- You can add filters to your table that enable users to refine their selections. Filters appear as dropdown menus above the table, and you can add as many as you like. The available filter options will vary depending on the post type selected on the first page. For instance, you can add departments and job titles as filters.
- Next, you can customize how your directory will be sorted.
- After creating your directory, the setup wizard will verify that you have completed the process and guide you on how to display the table on your WordPress site. You can display the table using the 'Post Table' block in the Gutenberg editor, or copy the shortcode from the table builder and paste it anywhere on your site, which allows you to put the table on any page, irrespective of its content.
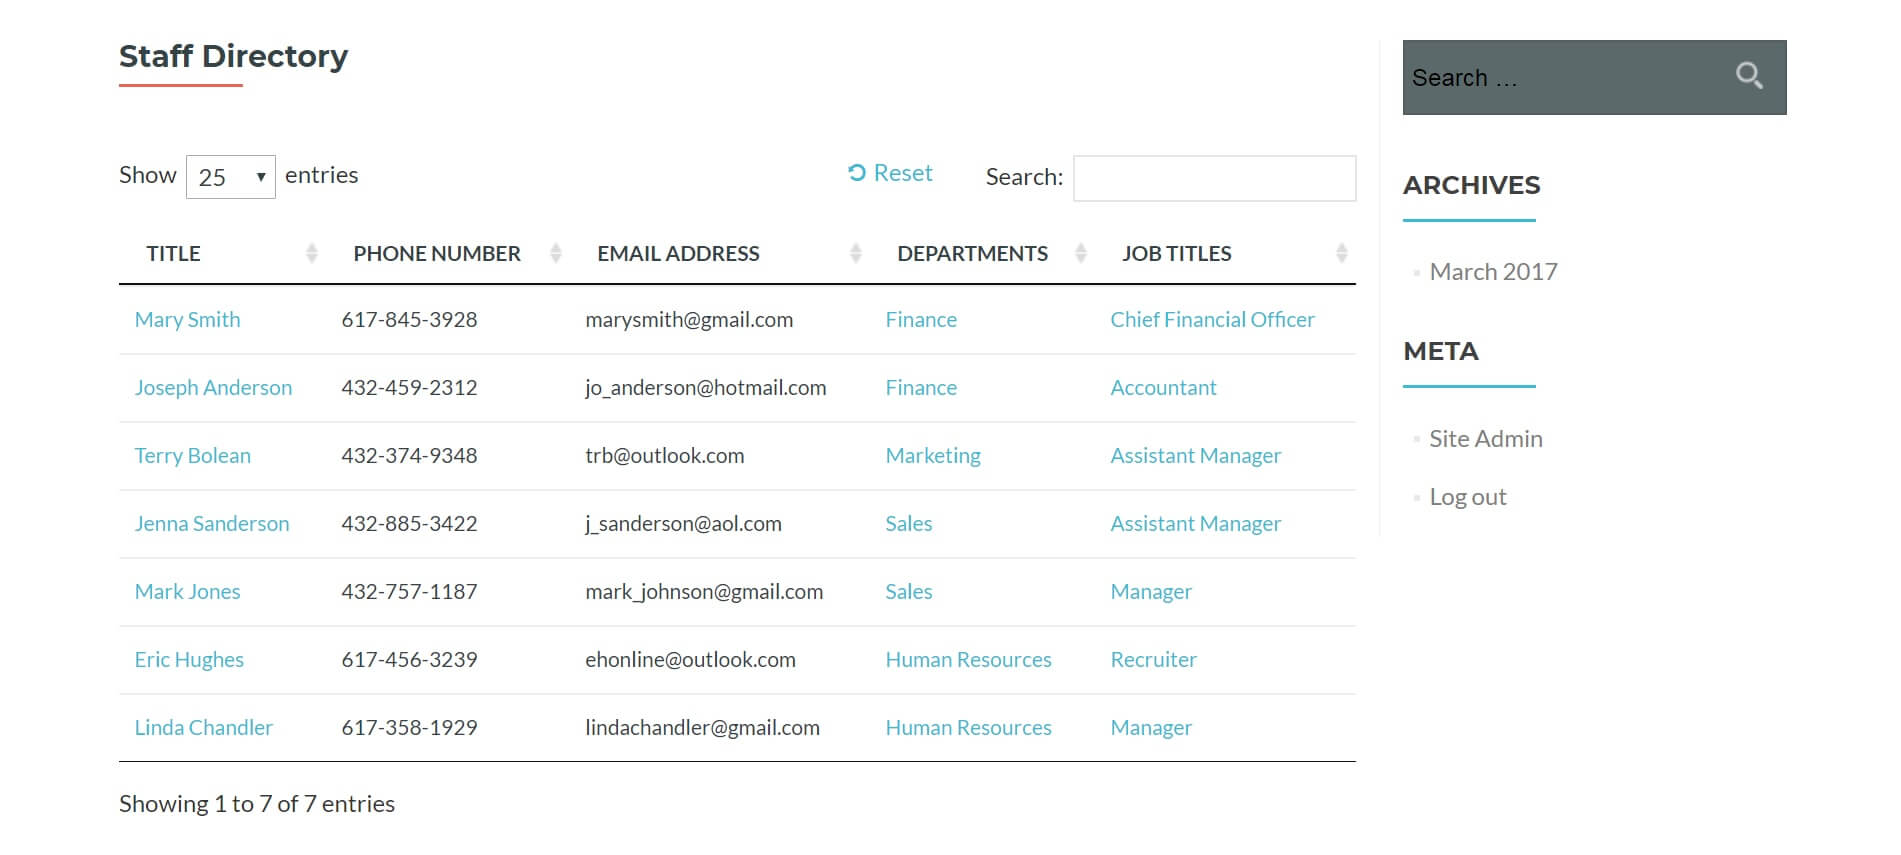
Once you’re done, your directory will look something like this:
Conclusion
Displaying your staff directory on your website is a smart way to make sure that information is available to anyone who needs it. Team members will be grateful for an easy way to get in touch with the right person. What’s more, creating a staff directory is simple with the right plugins.
If you’re looking for the best WordPress staff directory plugin, you’ll want to check out Posts Table Pro. This flexible solution enables you to display and customize your simple staff list, especially when used alongside the free Pods plugin. To get started, you’ll want to install both plugins and then:
- Create a custom post type for your staff page.
- Add custom fields and taxonomies for staff data.
- Enter the data for each staff member.
- Use Posts Table Pro to display your staff directory.
- Customize your staff directory.
Do you have any questions about how to use Posts Table Pro on your WordPress site? Ask us anything in the comments section below!
Image credit: Pixabay.
14 Comments
Can you add a clickable phone # snippet to your table?
Hi, Shannon. Thanks for asking. Yes, you can do this by adding/creating a WYSIWYG (Visual Editor) type of custom field to store the code for the clickable phone number, then display this in the posts table as a custom field column. For details about how you can implement this, you can refer to our article that shows you How to use custom fields with Posts Table Pro.
Please let me know if you have any more questions. We can also discuss your requirements in more detail if you contact us via our Support Center. Cheers.
Hello - Can we setup your plugin with the CSV importer that was suggested to sync and run weekly? We have an employee list we want to import into a Custom Post Type and then be filtered by your plugin.
Hi David, the WP All Import plugin has a Scheduled Import add-on which you can use to do this.
Thank you. Do you know of a method through these import plugins to remove data that is no longer present? We have data entries (staff directory) that will be removed from the system. We will want to automate this process of removing old staff members.
Thanks - David
Hi David, it's worth reaching out to the author of a popular WordPress import plugin such as WP All Import to ask if this is possible.